Above, we saw how to access the data relating to the monitoring status of a single client. However, sometimes you would like to have an overview of the monitoring functions of the Platform in regard to a large number of clients. This can be obtained using the “Monitoring List”.
Here’s how to access it:

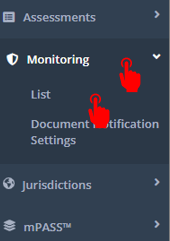
This will open a list of monitored assessments, such as the one showing below.
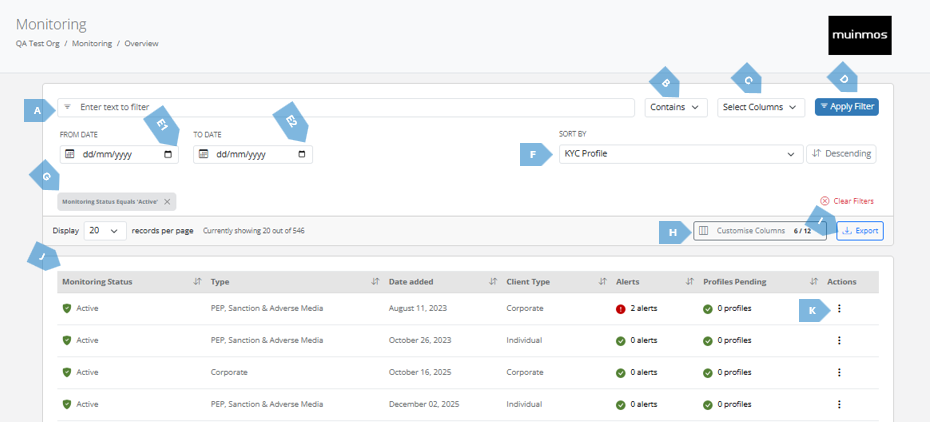
The monitored assessments list screen contains the following elements:
|
|
Element |
Explanation |
|
A |
Search bar (enter text to filter) |
Here you type the parameters you wish to search in the monitored assessments (these are data you can find in the list itself, like transaction reference). |
|
B |
Contains / Equals |
This lets you refine your results by choosing whether the selected column contains or equals a specific value. 
|
|
C |
Select Columns |
This lets you choose which columns the filter should apply to. |
|
D |
Apply Filter |
This button activates your selected conditions, updating the results to match the filters you’ve set. |
|
E1
|
Date range (From Date - To Date) |
Here you input the date range of the assessments you are searching for. |
|
F |
Sort by |
Clicking the “>” icon will open the following list, from which you can choose the parameter to sort the the monitoring list. 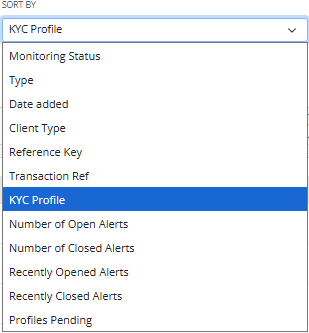
|
|
G |
Sorted by indicator |
This icon indicates the parameters the list is currently sorted according to. |
|
H |
Customize Columns
|
This option lets you choose which columns are visible in the main view to control exactly which information is displayed on the screen. 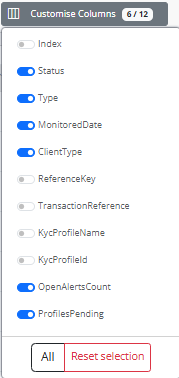
|
|
I |
Export |
Pressing this button allows will download the list of monitored assessments in a CSV format. This can be useful, for example, if your firm is undergoing an audit and wants to produce records to the auditor, or similar. |
|
J |
Monitored assessments list |
This is the main section of the screen. It includes various columns, of which the following are worth noting: Monitoring Status – shows you if monitoring is on (green “Active” icon) or off (red “Not Active” icon). 
Type – what is being monitored (PEP/SAM/AM, for example). Date Added – the date when the monitoring had been initiated. Client Type – Indicates if the client is Individual or Corporate Reference Key – the “name” the initiator of the assessment gives it. Transaction Ref – the “name” the Platform gives the assessment. KYC Profile Name – what is the KYC profile which was used for the assessment the module monitors. KYC Profile Id - specific number assigned to KYC profile that was used during assessment. Alerts – indicates if there are alerts that need be reviewed (red “Alerts” icon) or not (green “0 alerts” icon). For more on that, please see below under “Review alerts”. Profiles Pending – denotes how many alerts have been reviewed, and now await action in the relevant assessment.
|
|
K |
|
This menu opens the list of available actions you can take on the selected alert. More on those below. 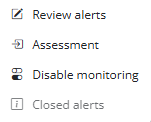
|
|
|
Review alerts
|
This action allows you to access alerts about the monitored client. Pressing this button will open the below screen, in which you’ll usually be presented with several possible “matches” – meaning, alerts regarding several individuals, which the system has deemed to possibly be your client.
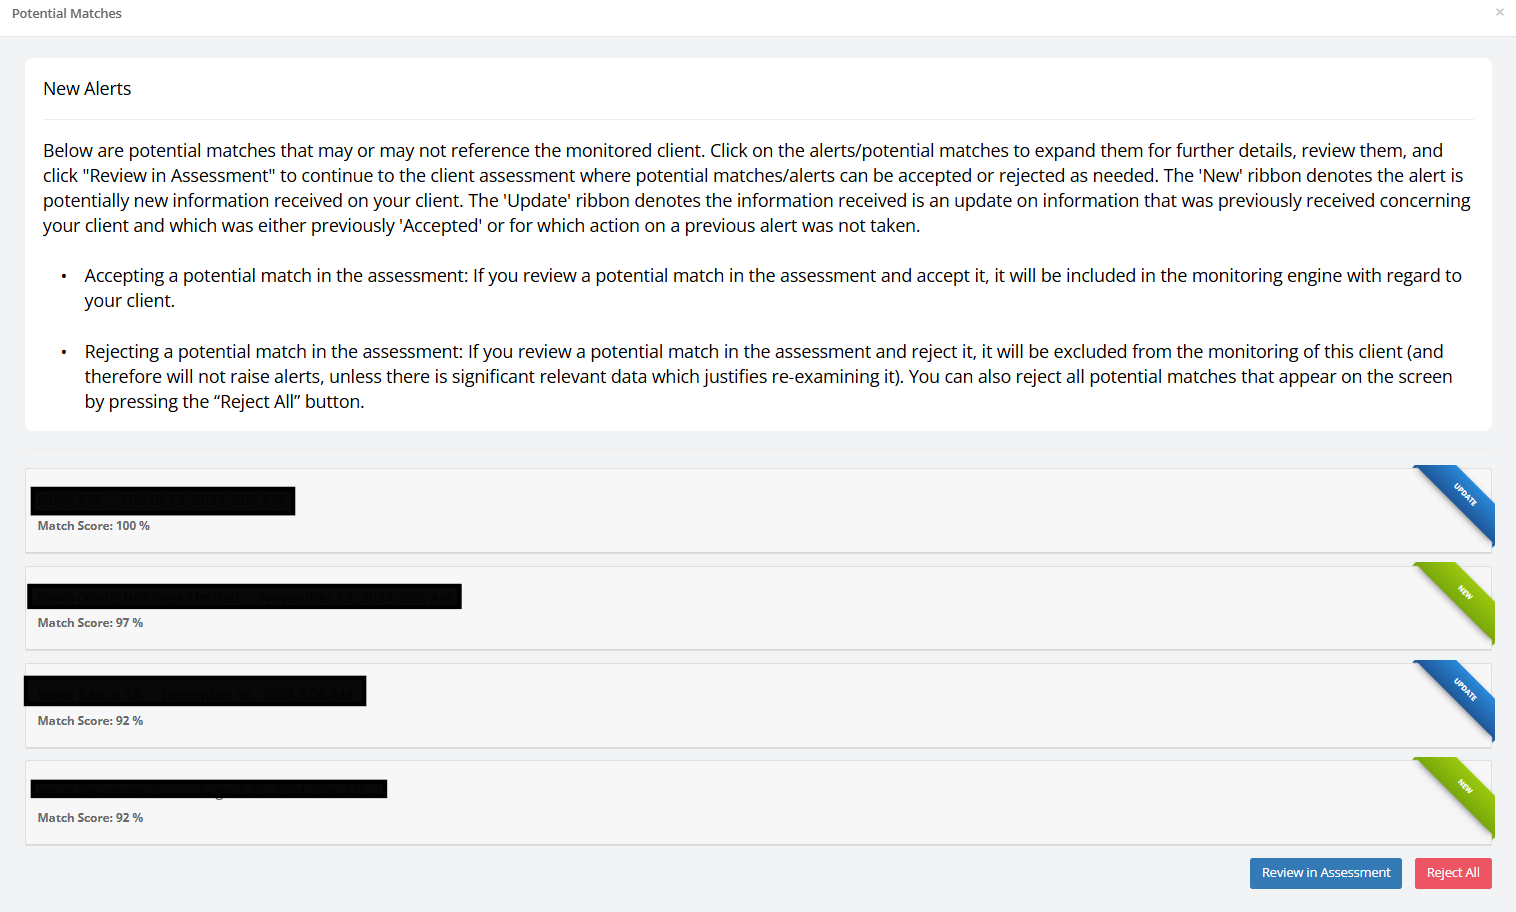
The “Match Score” shows you the Platform’s “opinion” as to the level of correspondence between the attributes of your client, to those of the person a specific article or other information that came up in the monitoring, refers to. The Platform’s “opinion”, however, is not the determining factor – the final word is yours. You can press any tab in order to learn more about the data that came up in the alert and the person it relates to. In this screen, you can view the “Incoming Versions” of matches. These matches are either updated (marked with an “Update” ribbon) or new (marked with a “New” ribbon).
You have two options for handling these matches:
|
|
|
Assessment |
Clicking on this button will take you the relevant monitored assessment. |
|
|
Disable Monitoring |
Clicking on this button will open the below screen, in which you’ll be asked if you’d like to cancel the monitoring. 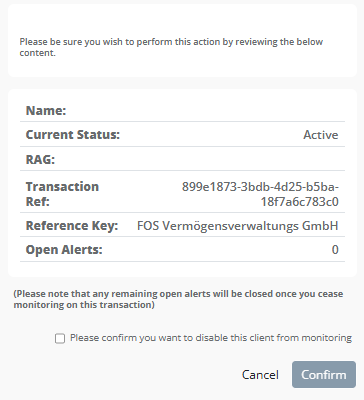
|
|
|
Closed Alerts |
Here you can see the history of all the Closed and Rejected alerts for the assessment:

The “Rejected Alerts” section contains a history of actions taken on the transaction reference for rejected alerts, including notes entered upon rejecting and reopening the alerts. When you reopen alerts, the number of reopened alerts will appear under the “Alerts” column in the monitoring menu. |
New / Update Alert
Also note, that the Platform differentiates between alerts regarding new “matches” and alerts regarding “matches” which have already been accepted by you.
Alerts regarding new “matches” will be denoted by a “new” icon:
Alerts regarding an already accepted “match” will be denoted “update”:
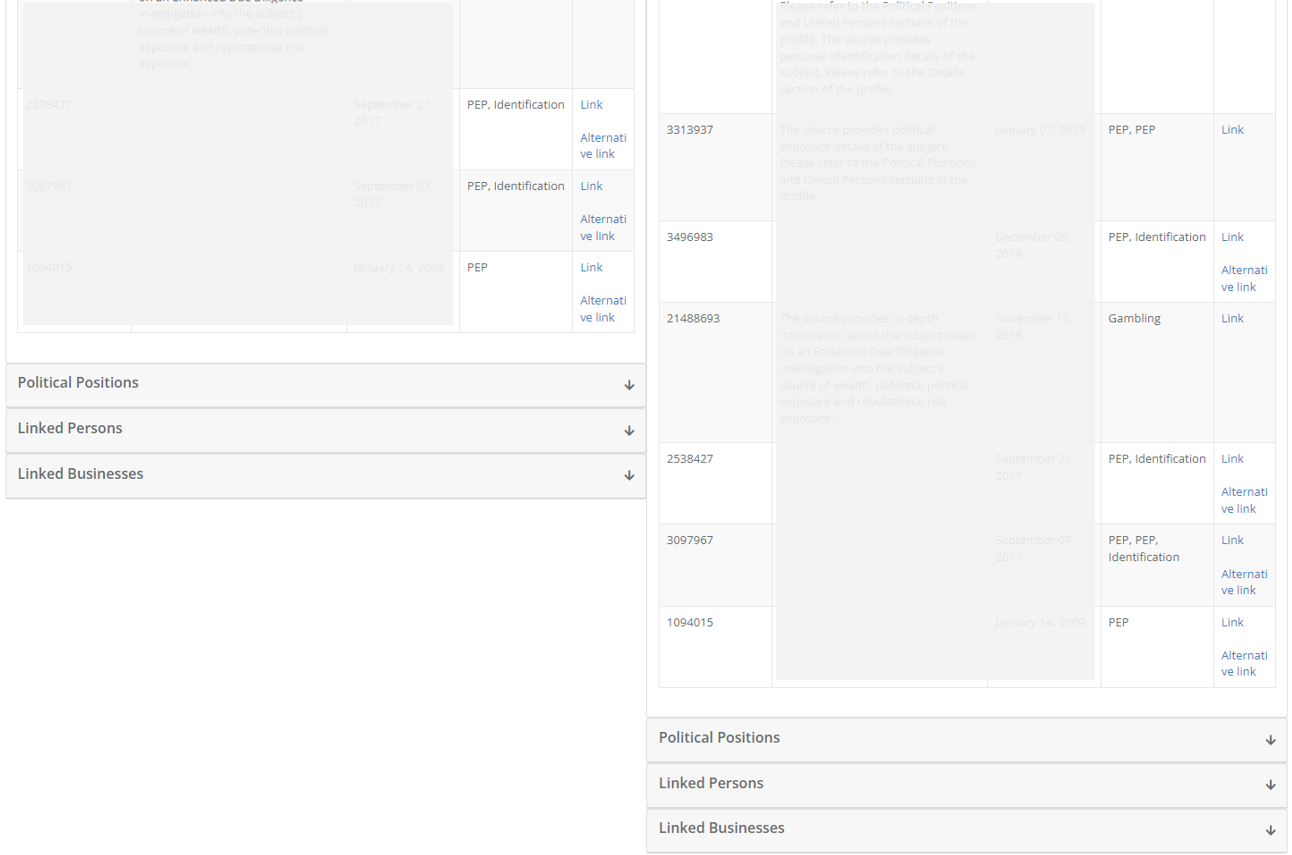
Side by Side View
Also note, that the Platform arranges the existing and the incoming data about a client side-by-side, allowing you to visually and immediately compare between the two, saving you time and making it easier on you to make a fast and informed decision.
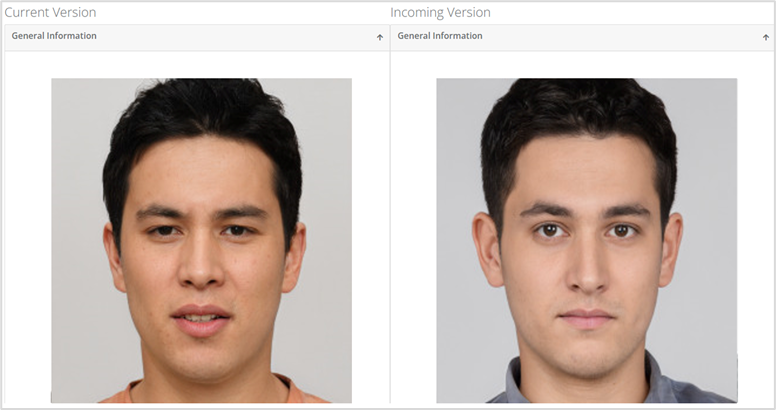
For example, in the screengrab below one can clearly see the subject has new Adverse Media about them. This allows you to visually and immediately know things have changed in this regard, and saves you time reviewing the alerts.