
Now that we’ve created users, we have to manage them. This can be done through the “Users” tab, which presents, as we saw before, the below screen:
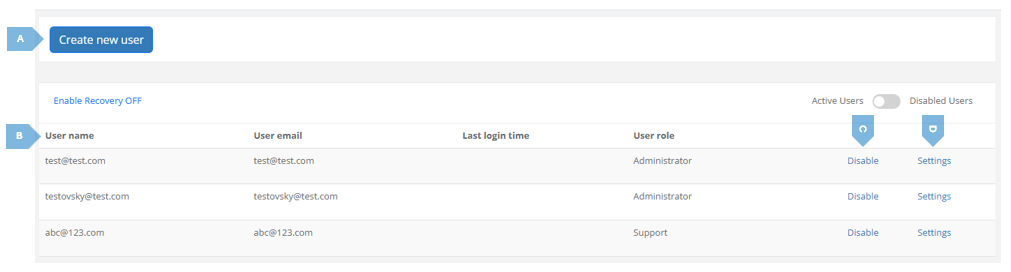
Here’s a short breakdown of the different elements in the screen:
|
|
Element |
Function |
|
A |
Create new user |
Allows to create a new user, as shown in Section 2.3.2. |
|
B |
Users Details |
This table contains the details of all the users of the Platform. |
|
C |
Disable / Enable |
Allows an administrator to enable or disable a user. After clicking the “Disable” or “Enable” button a screen similar to this will pop-up: 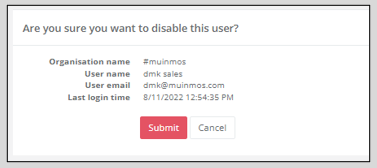
If you are sure you want to disable / enable the user, press “Submit”. If not, press “Cancel”. |
|
D |
Settings |
Upon pressing the “Settings” button, a screen will open, showing you that specific user’s settings. “Settings” box (on the left side of the screen): This box includes certain features you can enable (if currently disabled) or disable (if currently enabled). One such feature is the “Show Take Assessment Option”. It allows the Platform user to take an assessment directly from the “Actions” cog in the assessments list (for more on that please see Section 3.2). Pressing the “Enable” button will activate this menu item under the “Actions” cog. 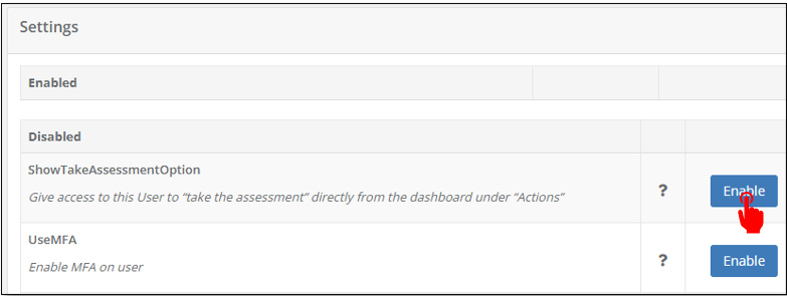
For MFA - Please see Section 2.3.4. “Groups” box (on the right side of the screen): here you can assign yourself to approvals groups. Simply check one of the available groups (you can create approvals groups using the mApproval module. On that, see Section 10 of this manual) in the column marked below with “2”, and press the arrow marked below “3” to move it to the “Assigned” (“4”) group, meaning, an approval group you are part of. To remove yourself from a group, do the exact opposite action (check one of the groups under “Assigned”, and press the arrow below “3”). 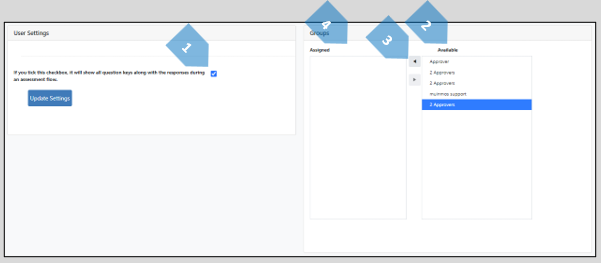
|